
WordPress is one of the best and the most popular content management systems or platforms available today. It can offer some highly interactive interface as well as other great features. WordPress is a web software you can use to create a beautiful website or blog but what makes it even more beautiful is the theme or template you use. In this article, we'll be looking at how anyone can install WordPress theme or template in 4 easy steps. The good news with WordPress is that you are not limited by the theme to install as you can always change your WordPress theme or template any time you wish to do so.

Steps For Installing a WordPress Theme or Template
Step 1: Download the theme or template online
To download a theme, all you need to do is to go through search engine on your browser and simply type “WordPress themes”. You will be presented with two options: free themes and premium themes. There are several free but great templates that you can choose from, but remember you may not be able to access some features, which may be important for your website or blog’s performance.
Alternatively, you can choose to purchase the premium WordPress themes or templates. When it comes to this, you will need to carry out some research on websites with premium WP themes and find those that offer competitively priced themes and a wide variety to choose from. Once you settle on either free or premium template then run a demo of it to see how it will appear on your site or blog. You can the click the download link. You will receive your archived theme on your download folder. There are lots of reliable Premium themes at affordable prices on Themeforest
Step 2: Extract the theme
You remember that file you downloaded was archived (.zip). In order to install it, you will need to extract it onto your PC. Ensure that you extract it to a folder that is easy to access. If possible, you can extract it to your desktop. You may need to have installed WinZip or any other good archiver if your computer does not have it already.
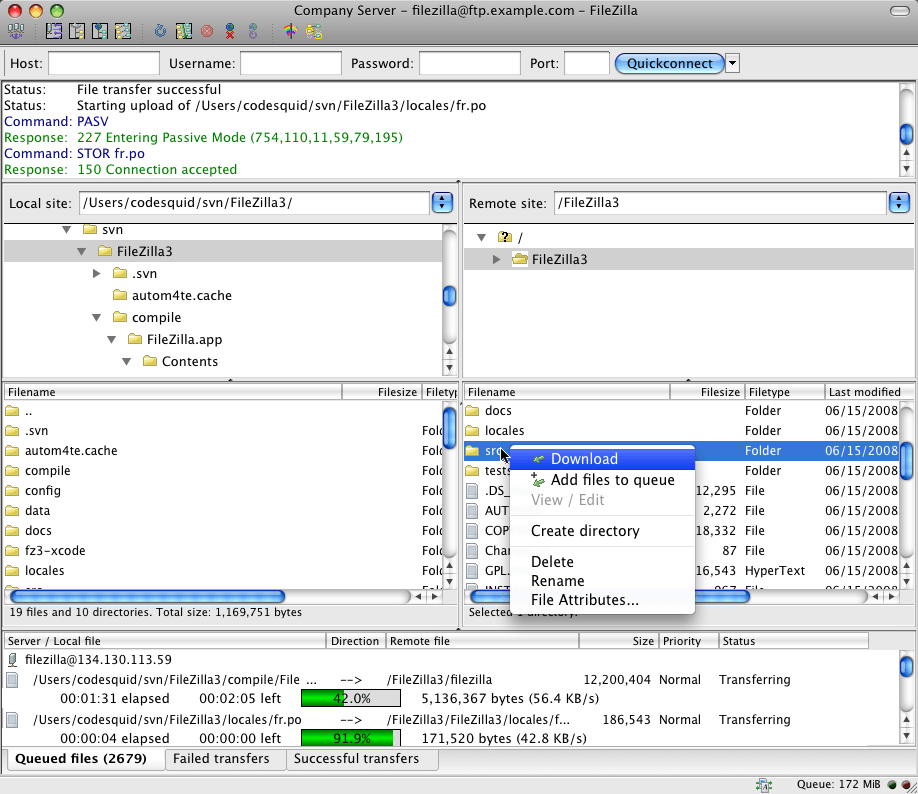
Step 3: Upload the files or folder
Once you have completed the extraction, you can now upload the complete folder of your template installation into a folder with the name of yourwebsite.com/wp-content/themes/. So far, the best way to effect such uploads is via File Transfer Protocol (FTP) using a trustworthy FTP client like Filezilla or CuteFTP.
This is because trying to upload your files via your systems file management can take too long and would be quite cumbersome because you will be required to upload the folder file by file. However, you will need to find out first if your web hosting service provider supports FTP. You can ask them if you have no way of finding out on your own.
Step 4: Activation of the template
With successful upload, it is time to activate your theme or template. All you will need to do is to log onto your WordPress installation on yourwebsite.com/wp-login.php. On the dashboard, you will see a variety of navigation buttons including the one called “Appearance”. Go to “Appearance>themes and then search for the new theme and then click “Activate” and the process will be right on its track.
After the activation is successful, you will need to refresh your website and the changes will take effect immediately and you will see the new look your website has adopted. You will then need to take some time to learn how to use the new features (if any) that you are not familiar with. You are free to consult the theme author if need be, ask some questions as nobody knows it all.
Conclusion
The process is as simple as that. In most cases, the themes come with automatic installers. However, if you are a guru, you can try semi-manual or complete manual installation. For beginners, the automatic installation is a quicker and easier way to install new WordPress theme or template. Choose what works right for you and your website or blog.


